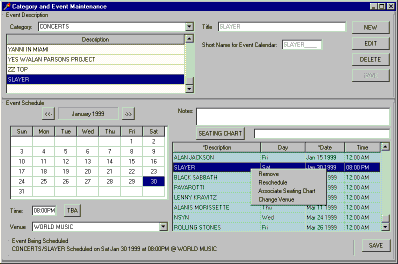
Broker 2000 provides the user with a robust event schedule manager. The schedule manager allows the user to perform such tasks as adding and rescheduling events, associating seating charts and venues with events, and adding events to the schedule that do not have a firm date and/or time. Event schedules are maintained by selecting the event maintenance icon from the toolbar. The following form is then displayed.
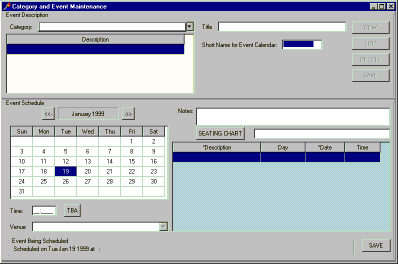
The first step in adding a new event to the event schedule is to put in the event description. This consists of the full title for the event and a short name (10 characters or less) which will appear in the event calendar. To add a new event description to the schedule, the user must first select the event category this event will belong to by using the category pulldown. Once this is done, a list of all event descriptions in the category will be displayed.
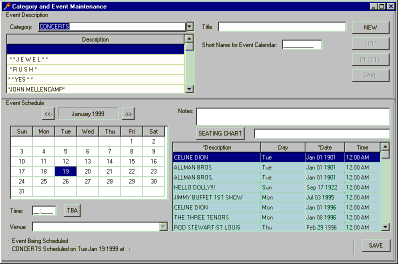
Since our new event, SLAYER, is not in the list, we must press the NEW button and type in our event description and short name as shown below.
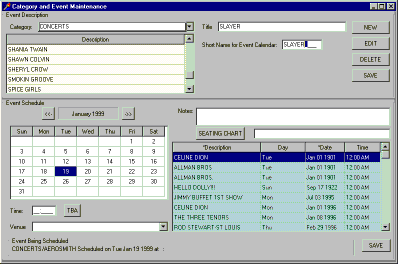
At the bottom of the event maintenance form, a status box displays the information for the event currently being scheduled. Since we now have our event description entered into the form, we can schedule a new date for this event by double clicking on the proper date in the calendar and entering in a time, venue, and seating chart for the event. As each piece of information is entered for the event, the status box is updated to reflect the changes. Make sure that the status box shows the proper information for the event prior to pressing the SAVE button to add it to the schedule! Event descriptions may also be edited or removed from within this form by double clicking on the desired event and pressing the proper button. An event description may only be removed if there are no dates scehduled for that event even if the scheduled events have already expired.
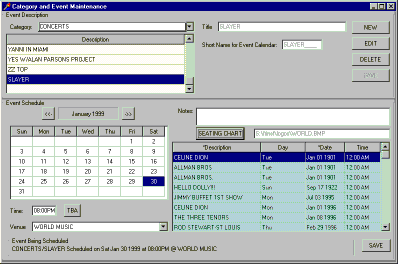
Now that we have all the necessary information in the form to schedule this new event, we can press the SAVE button. The event will be added to the schedule under the proper category and shown in the list of events.
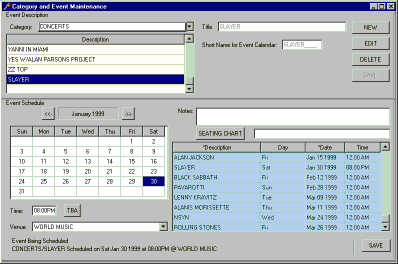
Once an event is placed in the schedule, it can be removed or rescheduled by single clicking on it to select the event and then using the proper option from the right click popup menu. Events can only be removed from the system if there are no tickets associated with them. This includes tickets which have already been sold.