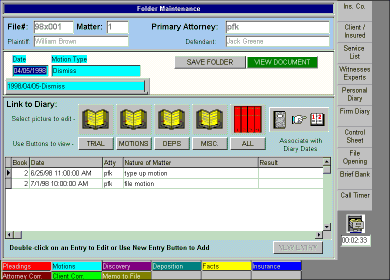
A document may be associated with a chain of events via the diary to document linkage feature. For example, it may require several separate meetings to finish a client deposition. For this demonstration, we will link a set of diary entries to our Motion to Dismiss document.
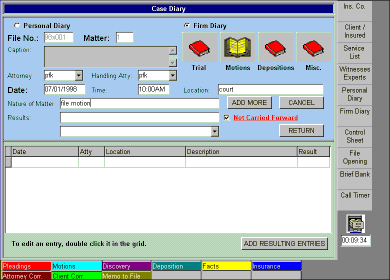
To begin the process of linking diary entries and documents we create a new diary entry 'File Motion' via the diary entry screen.

Next, we double click the Dismiss tab from our file cabinet to bring it into the document editing screen.
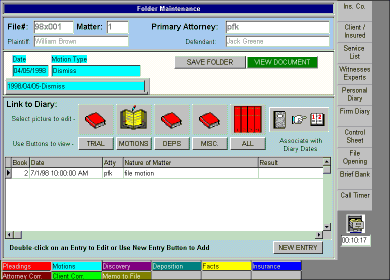
As you can see, this particular document already has 1 diary entry linked to it We will now link our second entry by pressing the icon above the Associate with Diary Dates title. This brings up our diary record selection screen. The document being linked is shown in the file tab at the top right.
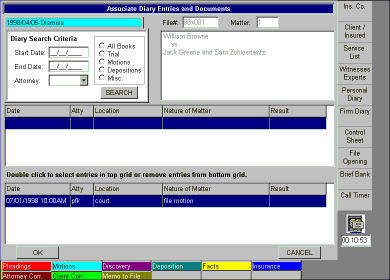
By filling in the search criteria and pressing the search button, we are presented with a list of qualifying diary entries in the center panel of the screen.
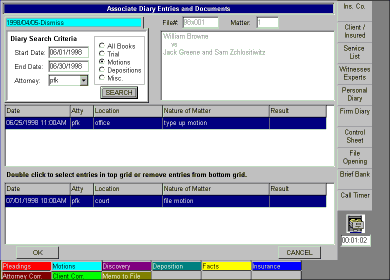
We now add our new diary entry to the linked entry list by double clicking it. If we wished to remove any entries currently linked to this document, we could also do this by double clicking on the entries in the bottom panel.
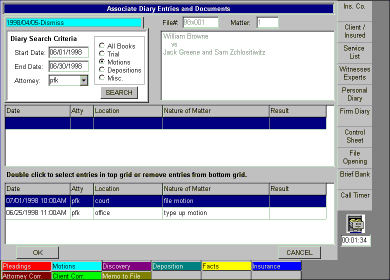
Once we have the desired set of diary entries in the bottom panel of our linkage screen, we simply press the OK button to setup the timeline for our document.
